The way I make bird skulls varies. I sometimes make a solid beak and sometimes use tubing. Sometimes I make them close to a replica skull other times I make them more stylized. I will attach two stylized ones. More often I use tubing for the beak but I will attach a sample of each. When I make a bird skull I use clear tubing that I encase with color. I make the actual skull first by blowing out a sphere, making the eye sockets, reshaping the dome if I need, then flatten the bottom. I pull the front of the skull and shape to affix the beak. I open this transition area if I am ising tubing for the beak. If it is tubing I flare out and shape the tubing to fit the transition area, make a good seal, pull out, taper and sculpt the beak.
I follow the same procedure as above for a solid rod beak but I do not pull out the transition area as much but I do pull it a bit, tapering the skull. I flatten the end of the transition, apply a gather of color, melt in real well making a good, fully integrated seam. I preshape my gather, heat toward the end of the gather so the skull will still move a bit but the beak is MUCH softer. As I pull the beak to a taper, the transition pulls out a little more forward. I hope that helps.
I got cracks in the first couple I did. Keep in mind a few things, try to have as even of a skull thickness as you can get, remember tubing is thinner and cools down faster than rod, this may lead to uneven heat or the transition area already cooled and you crack it as you apply the beak, the transition to the beak is a large change in thickness, be mindful of that, pull the transition out a little with the beak, it ensures a nice, smooth seal.
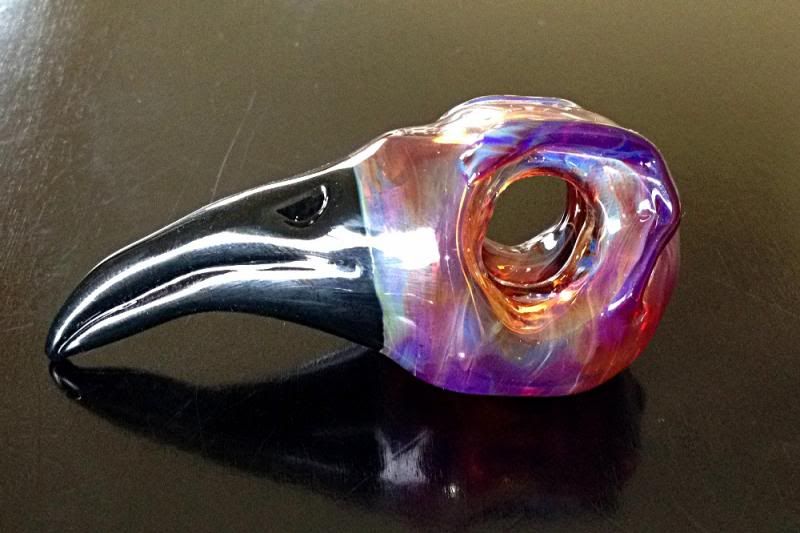
This beak is tubing
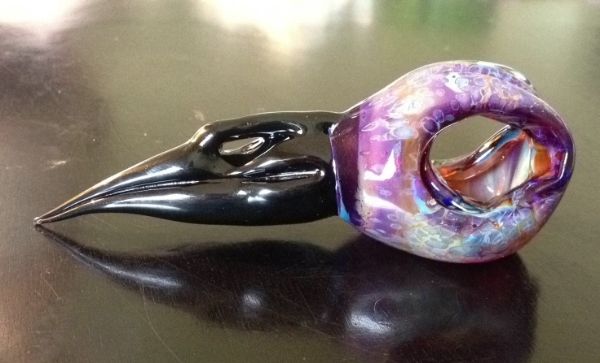
This beak is solid
Otter